I have been blessed to be able to not only be friends with the fabulous Ken Oliver, but I also have gotten to work with him and help him launch his new products.
This week we are partnering up with The Stencil Girl for a little blog hop action to help spread the love of Ken’s Color Burst products and The Stencil Girl stencils.
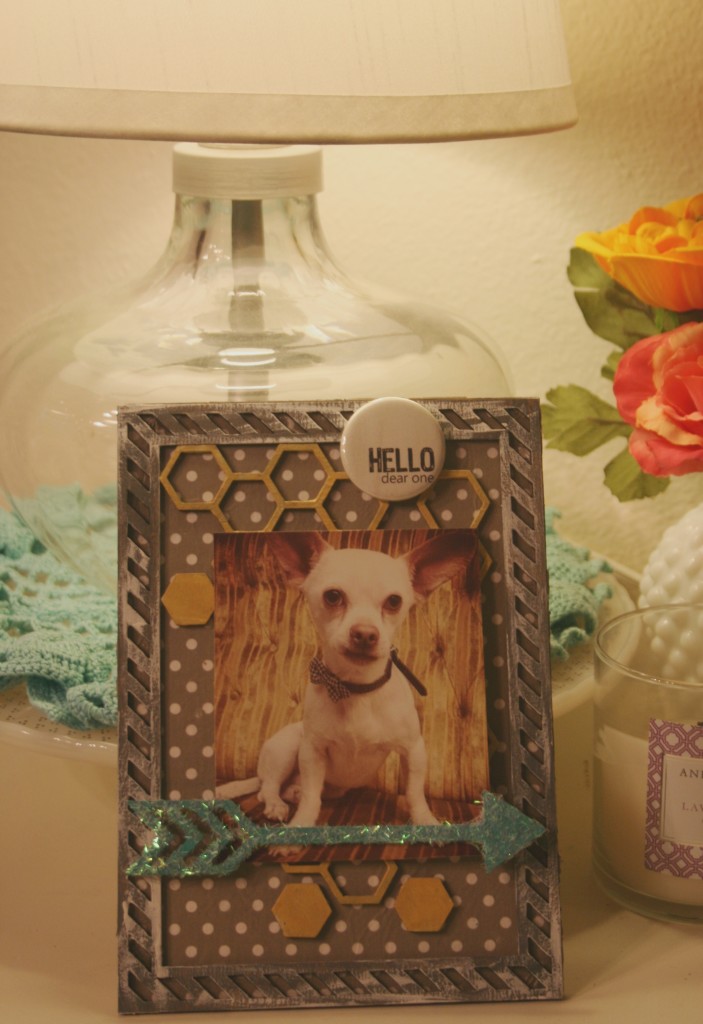
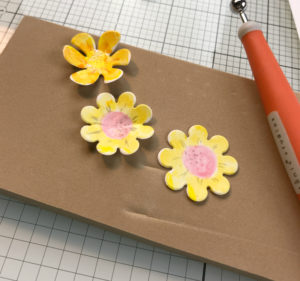
This is the project I put together… I hope you like it.
Oh, and be sure to leave a comment – I have 6 prize packs of products to give away… SIX!!!!! I will pick the winners on Sunday, 3/29/15 at noon CST.
So this might seem like a lot steps, but really it is just adding different layers of color – the technique for mixing and applying is always the same. The layers are the thing…
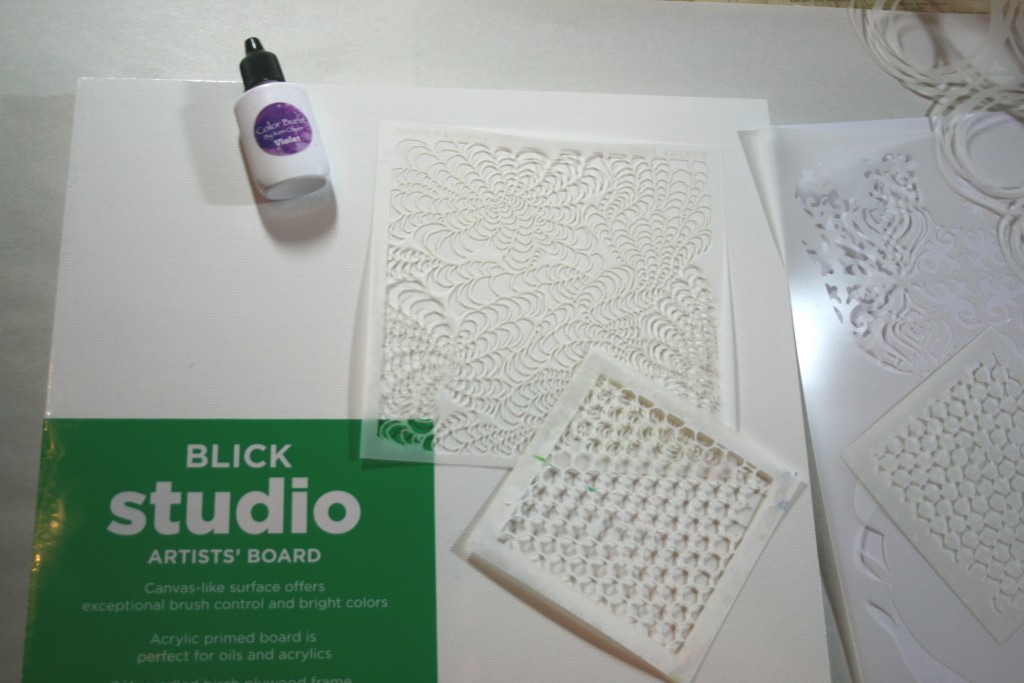
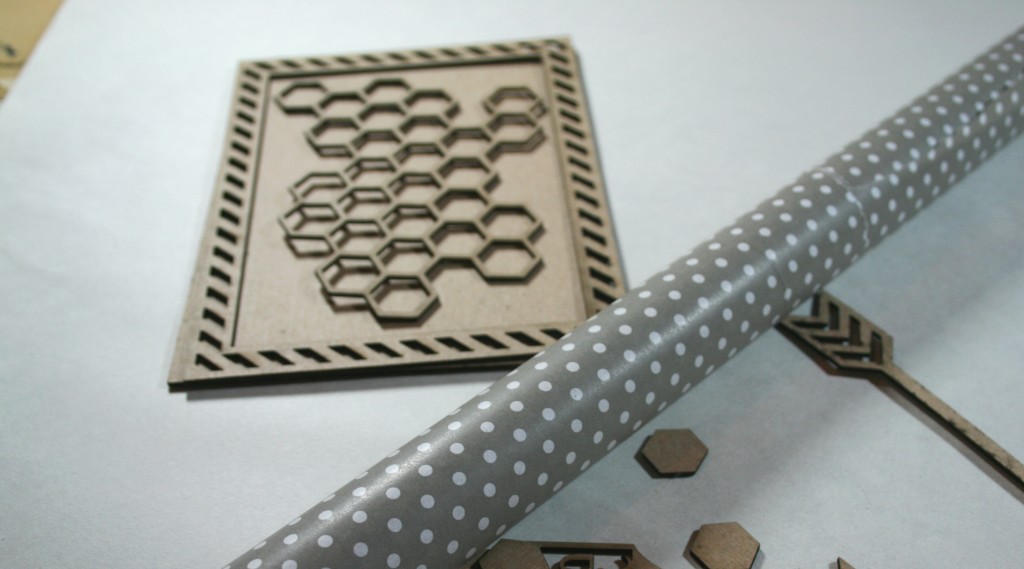
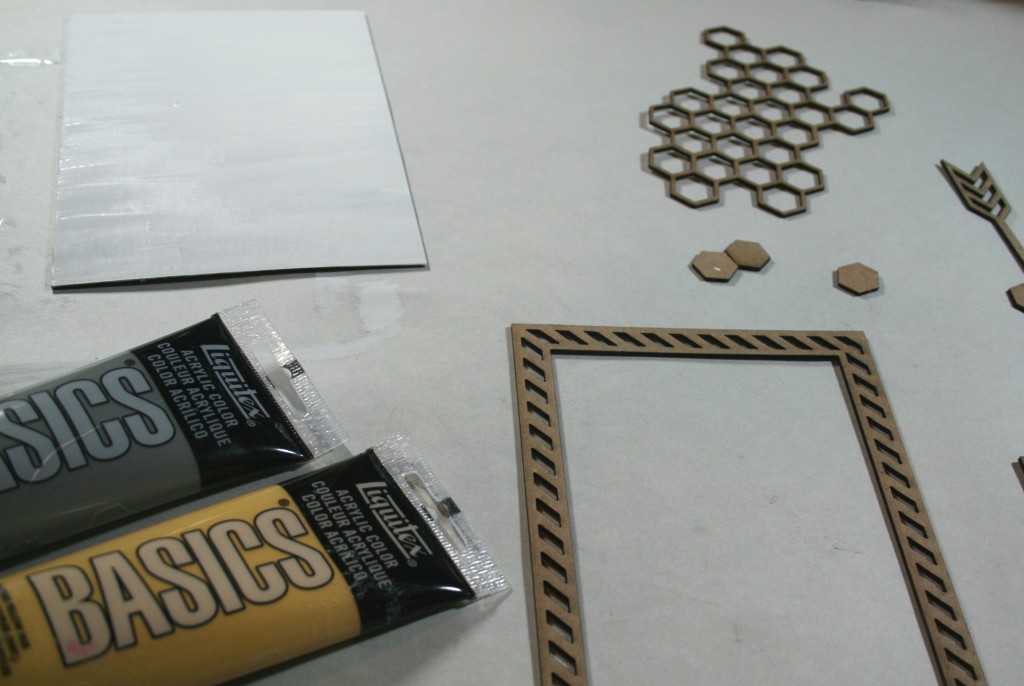
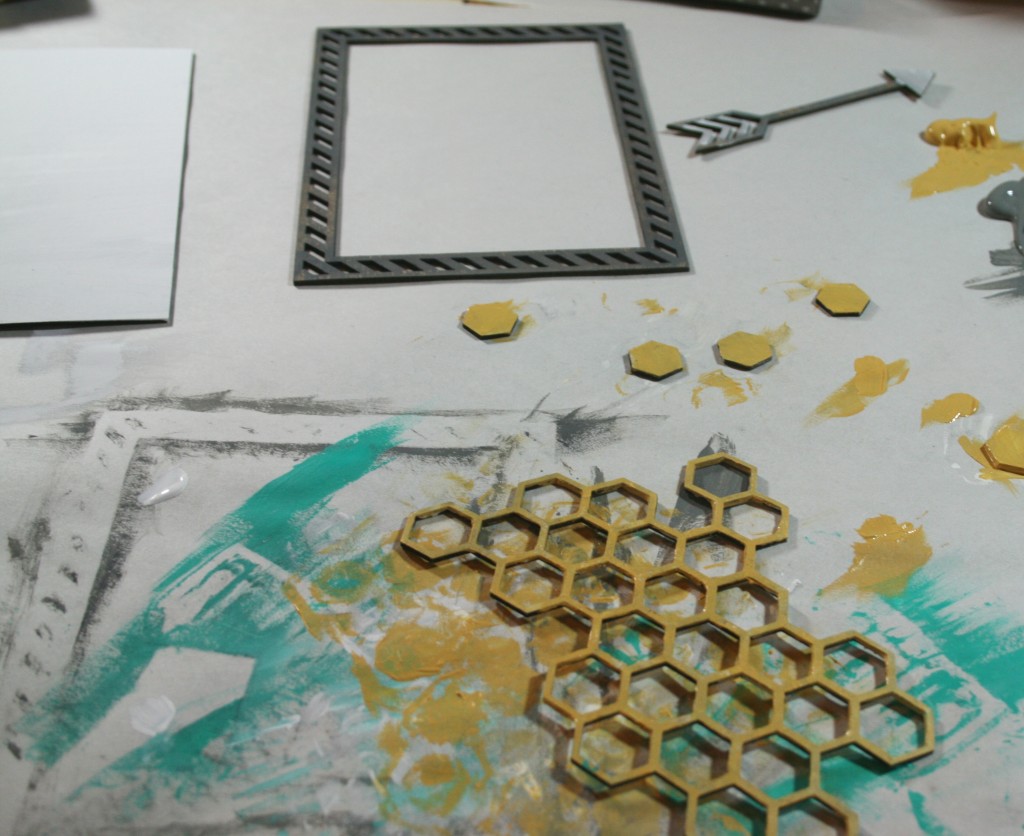
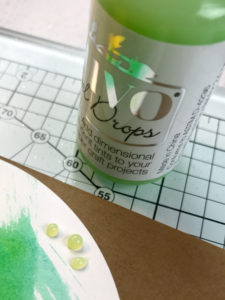
Here are the supplies you will need:
![1]()
How to put it all together:
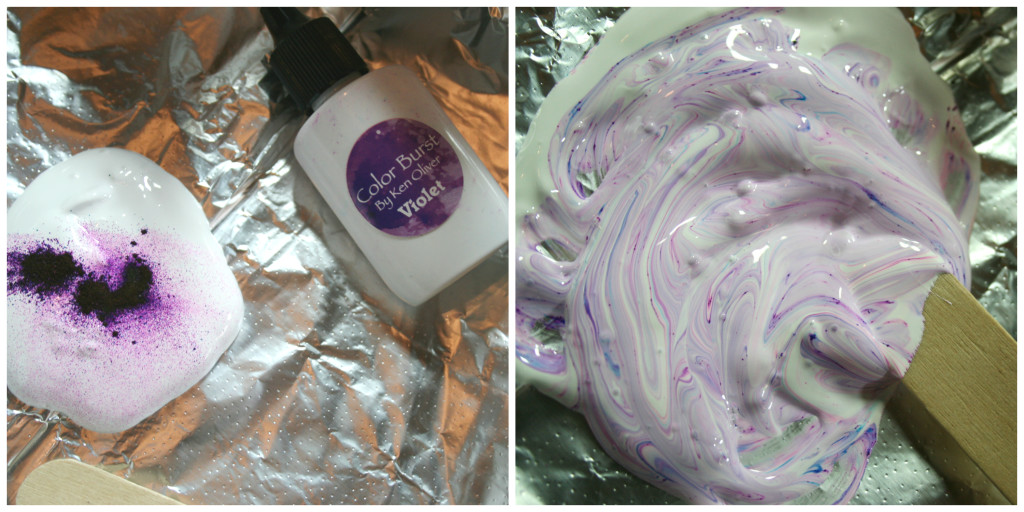
1. Put white gesso onto your mixing surface, add in your first color burst color. Mix until color is evenly distributed and the shade that you want.
![2]()
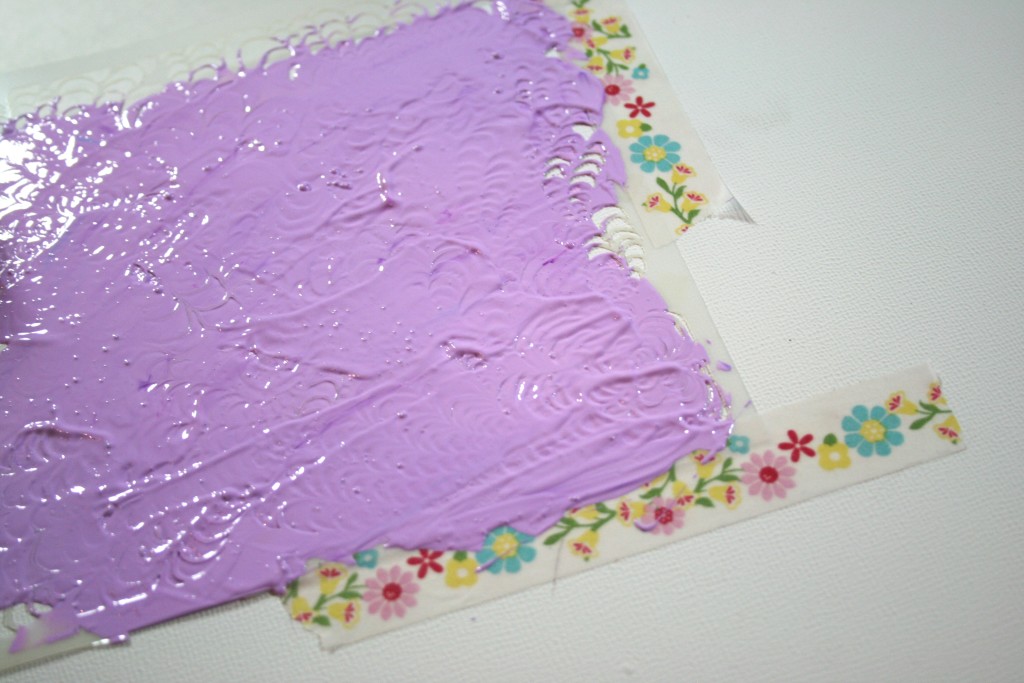
2. Using your first stencil, add your gesso to the canvas. Pick it up and move it several times for added thickness and textures. Don’t be afraid to experiment.
![3]()
![4]()
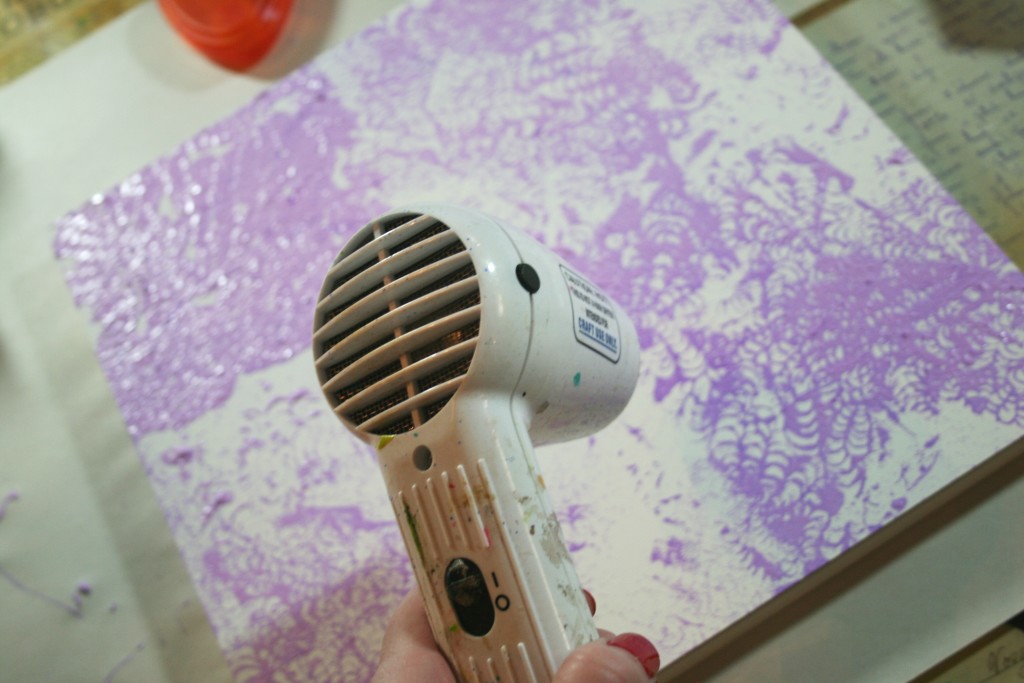
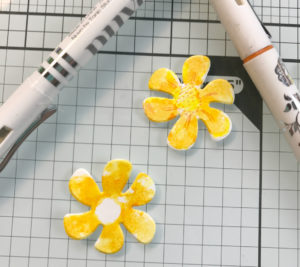
3. Let this layer dry.
![5]()
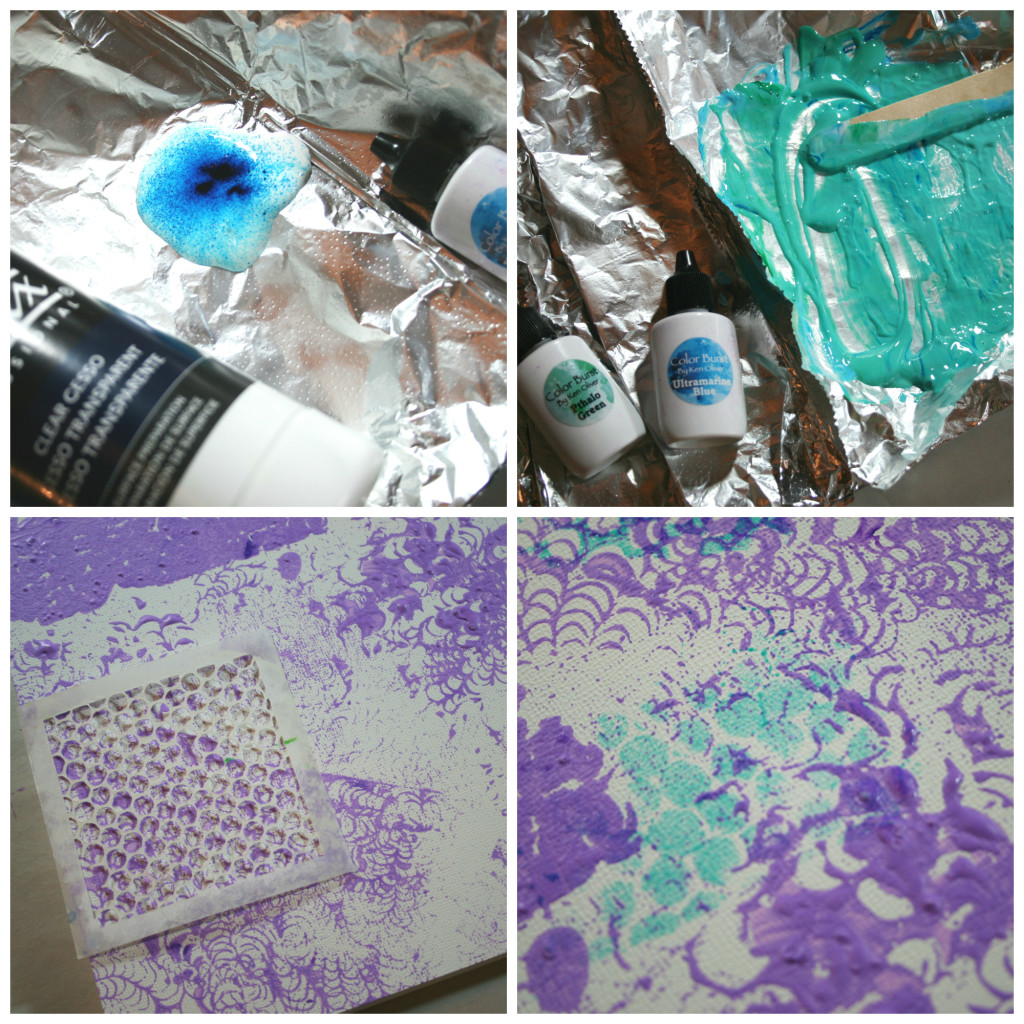
4. This time mix your color into clear gesso. This will give you a translucent result rather than an opaque result which is what you get from the white gesso. You can even mix colors to create a custom shade!
![6]()
5. Let this layer dry as well.
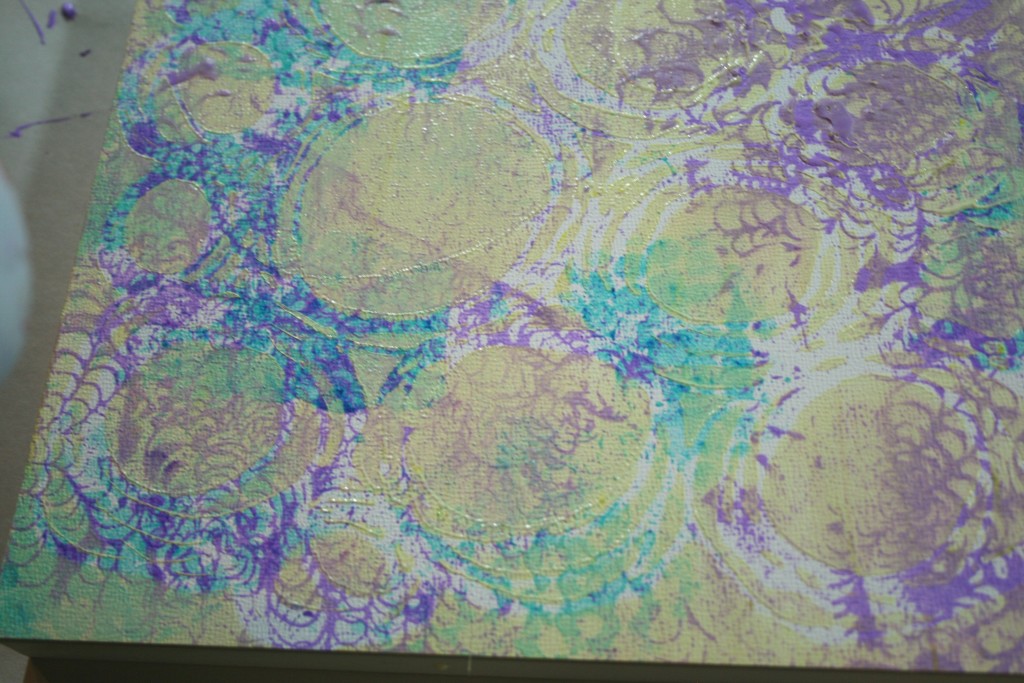
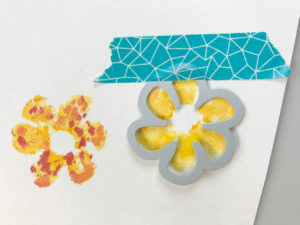
6. Do another color and layer… I chose yellow.
![7]()
![8]()
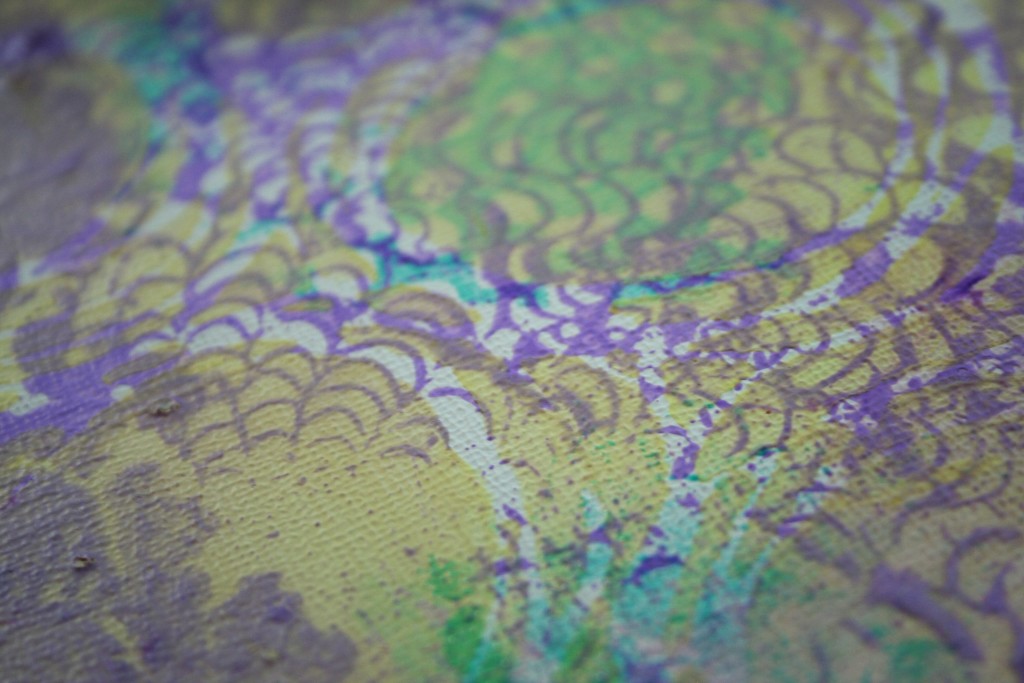
7. Dry.
![15]()
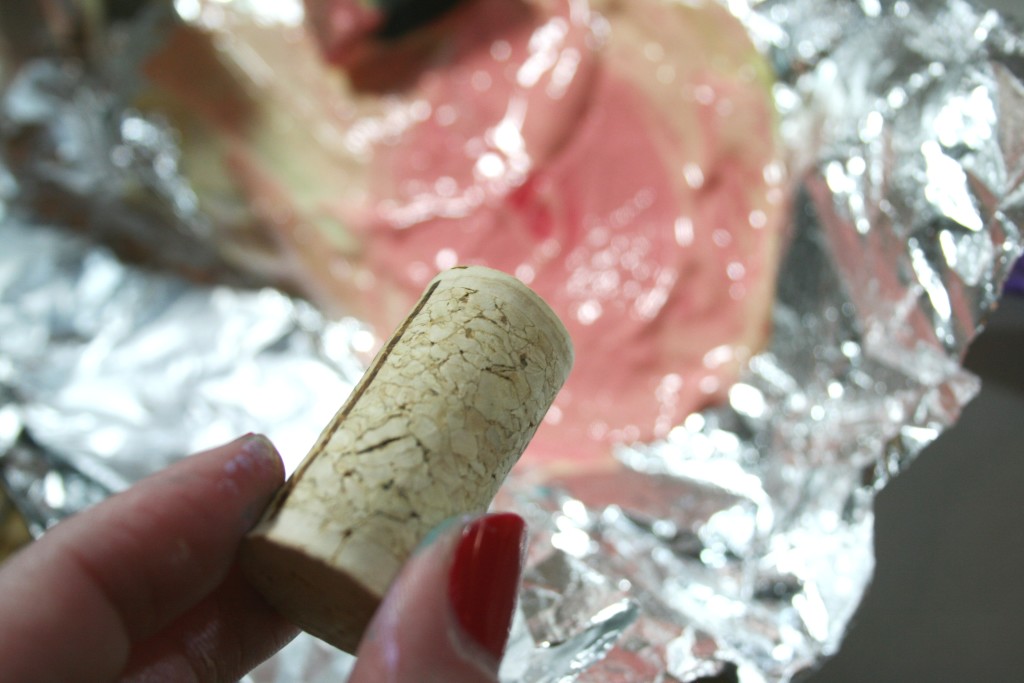
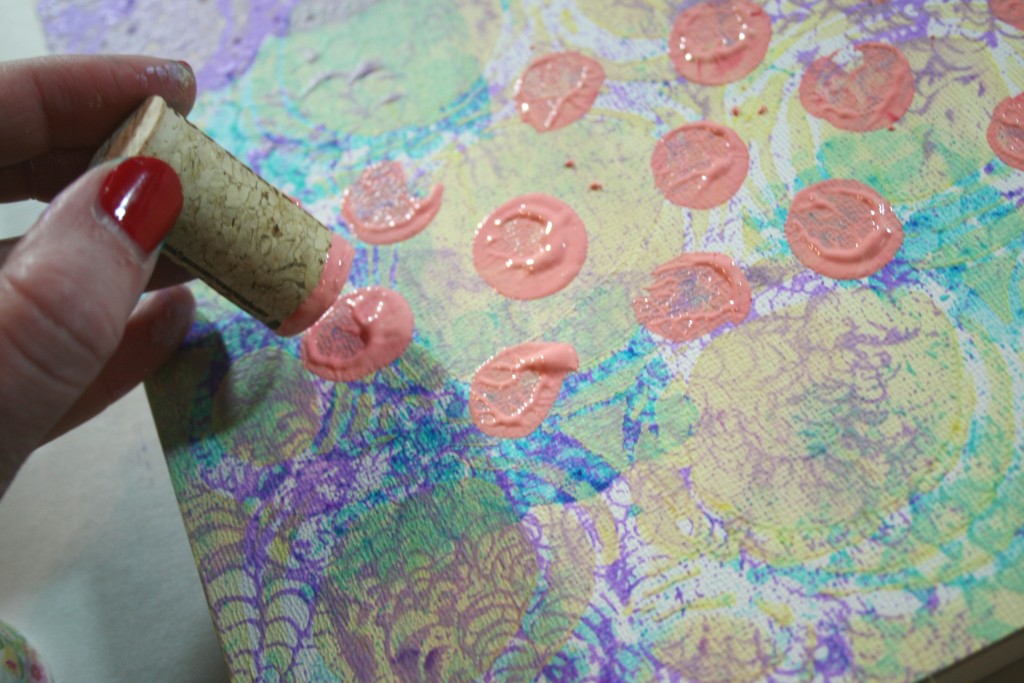
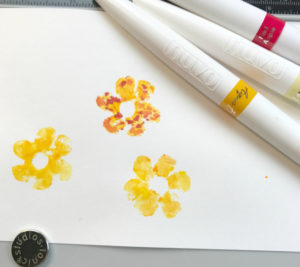
8. Mix a contracting color and then dab it on using a wine cork. Simple, but it adds a different shape and texture to the piece.
![9]()
![10]()
9. Dry.
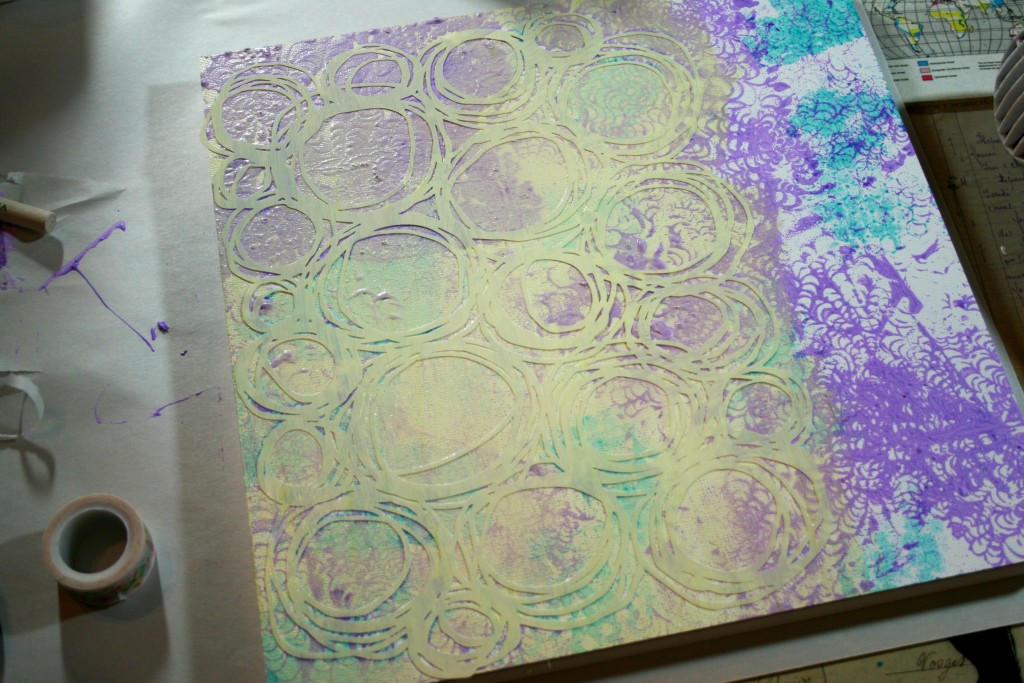
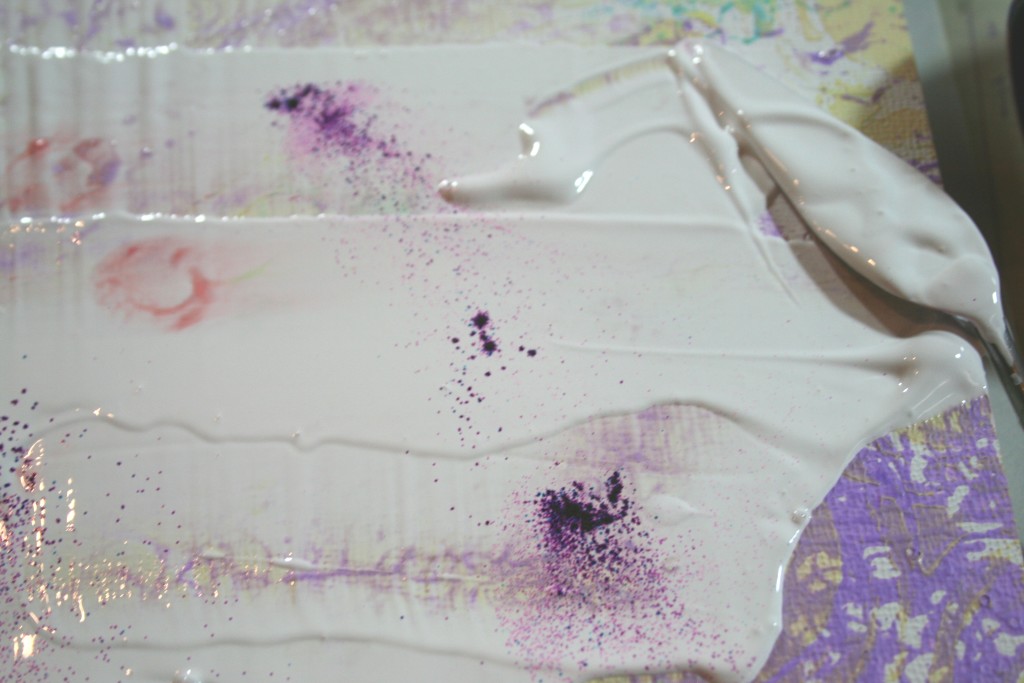
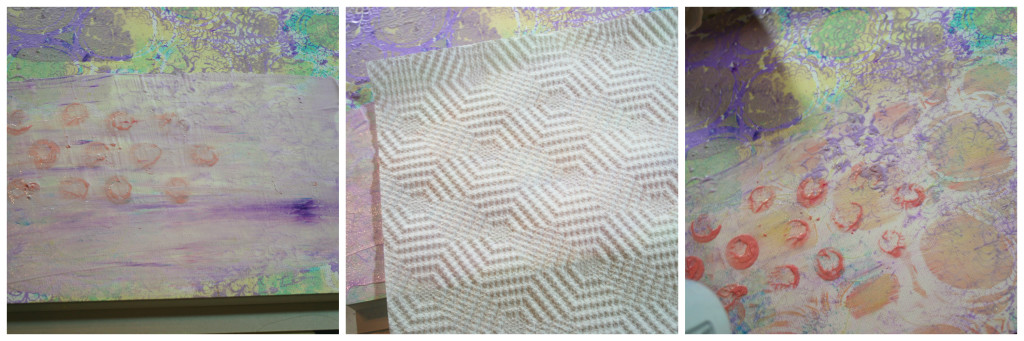
10. Add gesso straight to the board now. Then sprinkle in a color and swirl it until you like it.
![11]()
11. Next reduce this with a paper towel and some water… you will wipe part of it away, leaving it as more of a shadow than a bold statement…
![12]()
12. Dry.
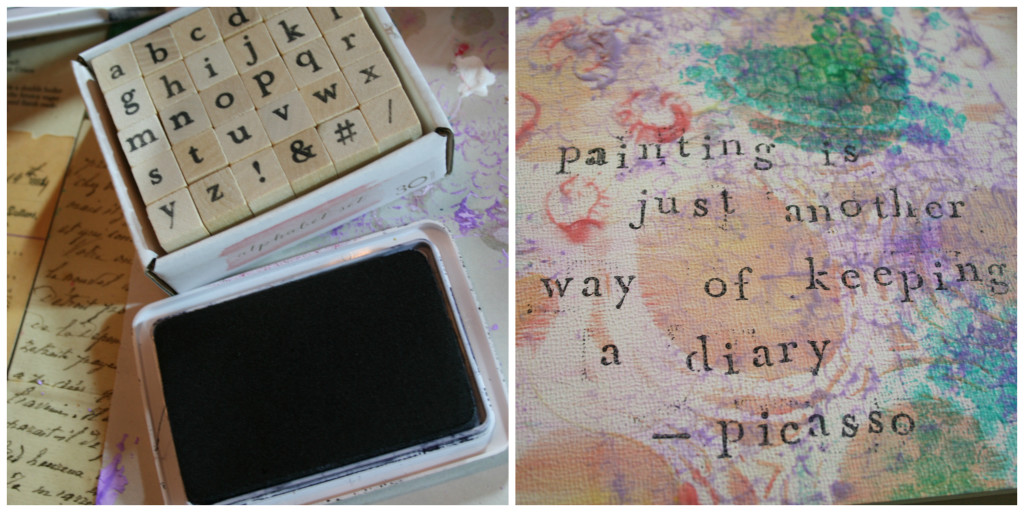
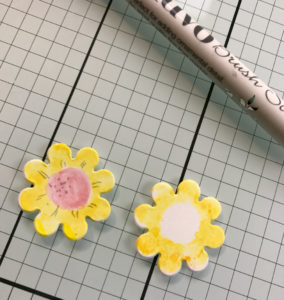
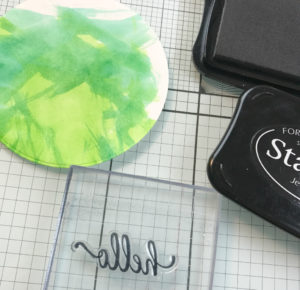
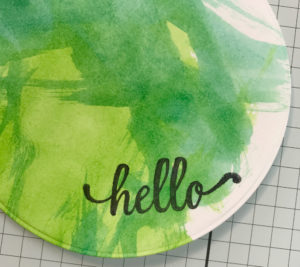
13. Using your ink and your stamps, add your sentiment.
![14]()
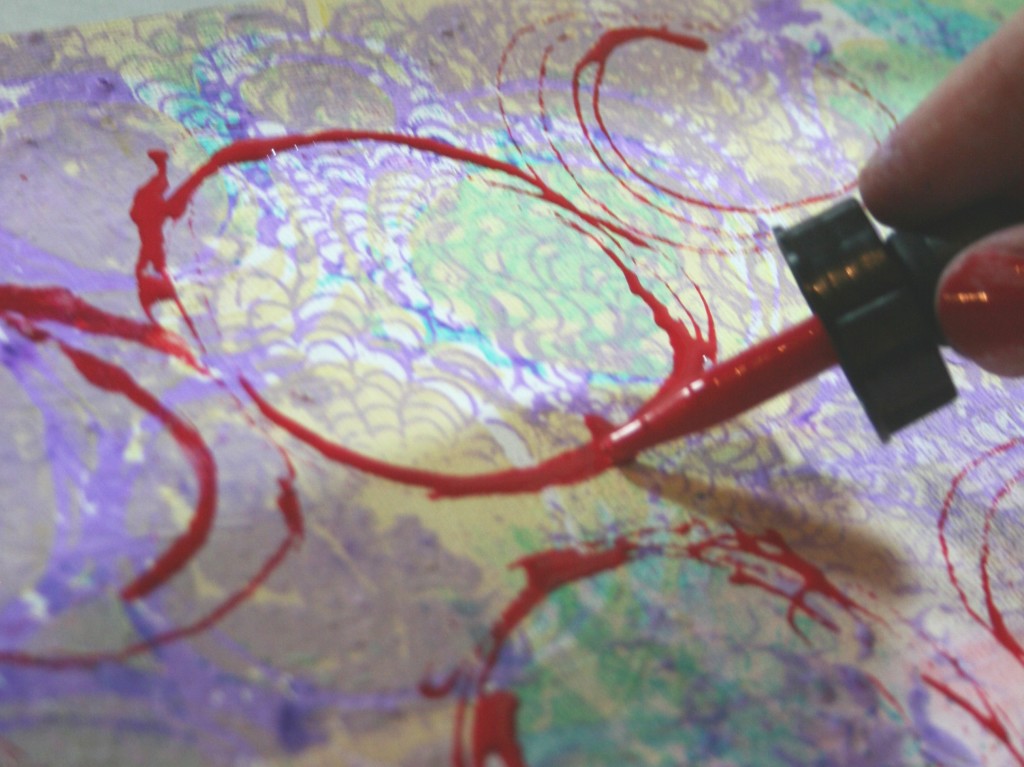
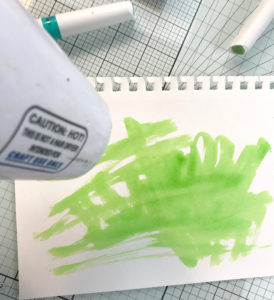
14. All that is left is to add some bright swirls using your liquid acrylic ink and you are all set and done!
![17]()
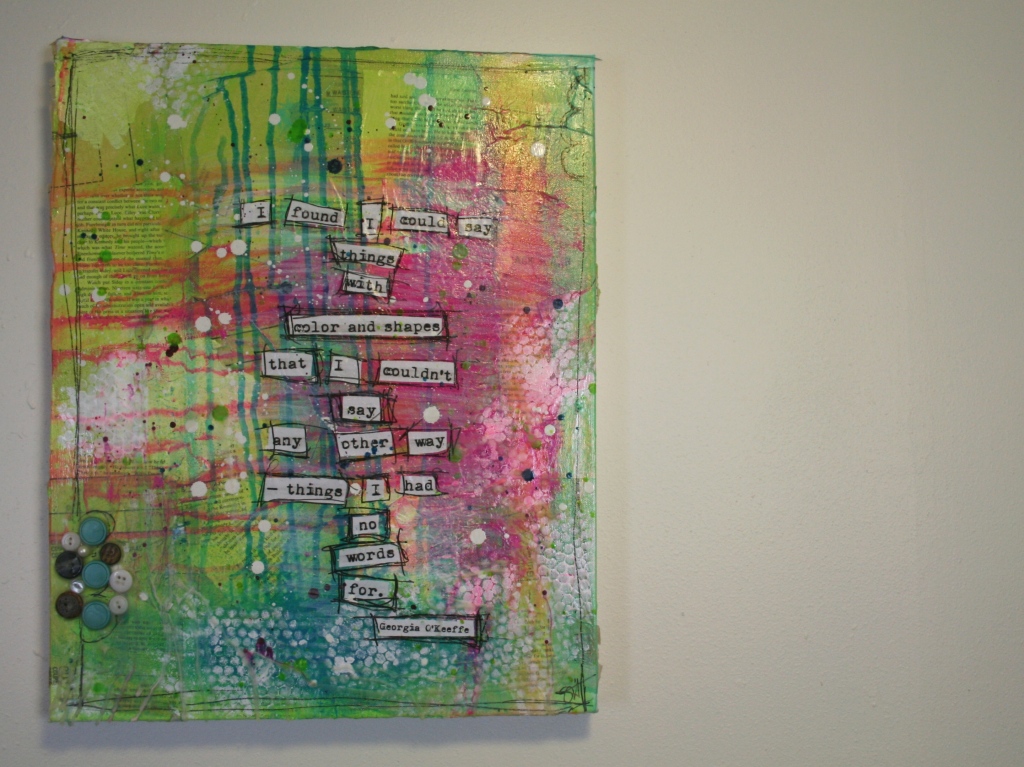
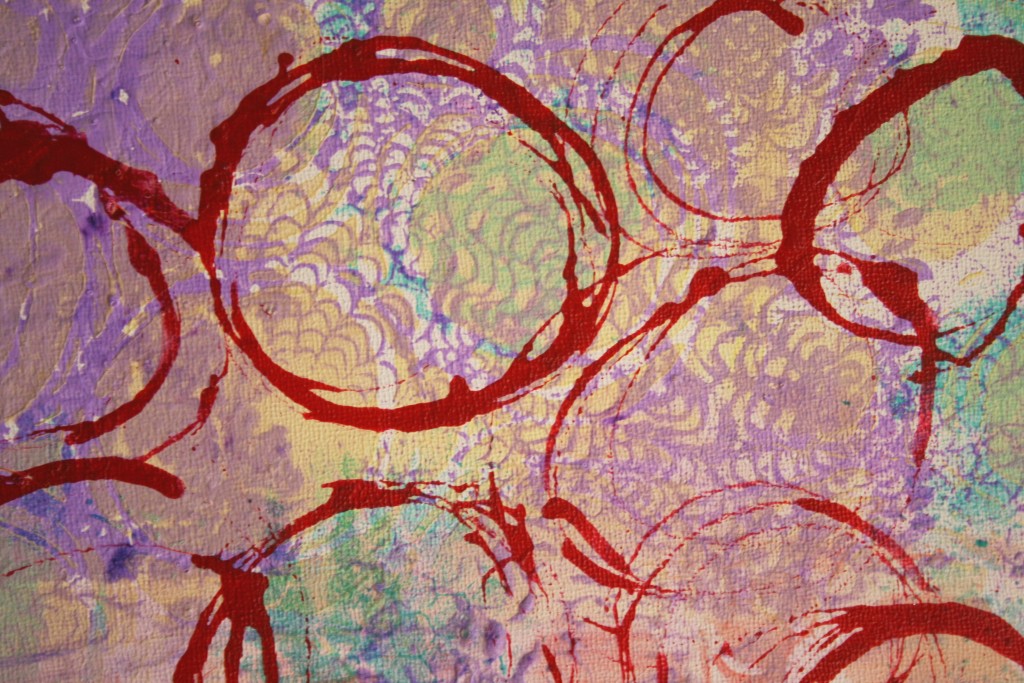
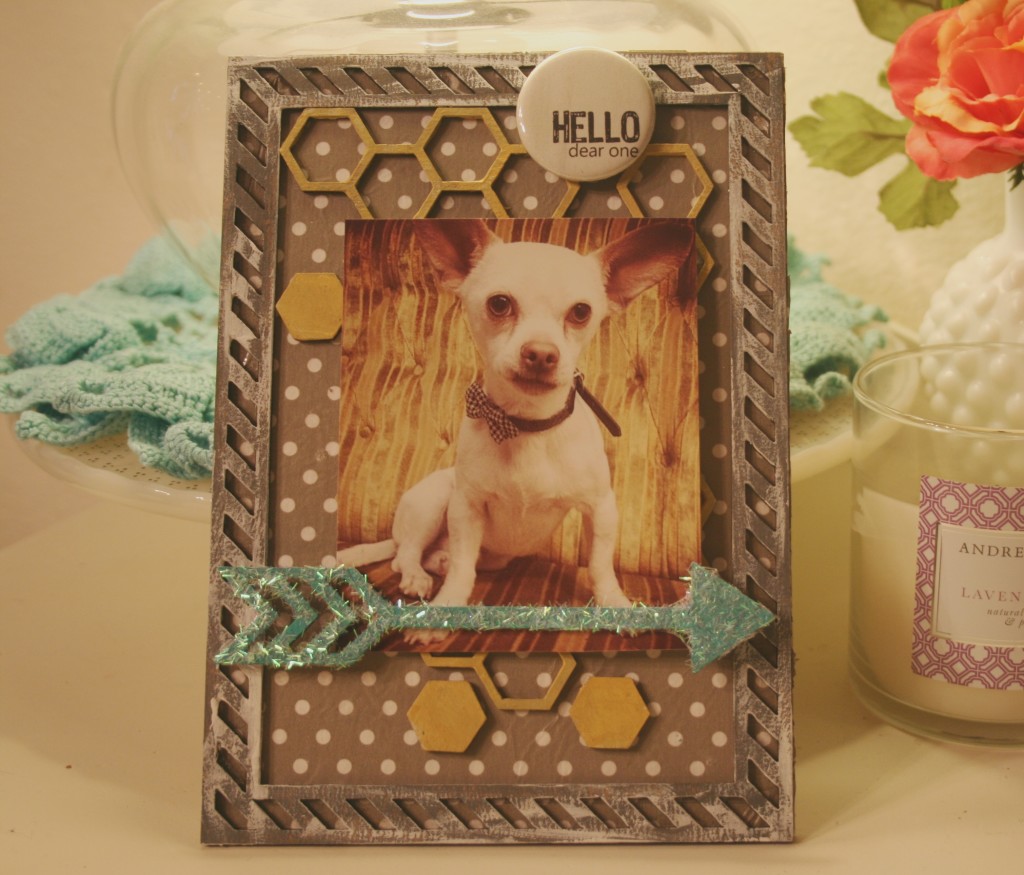
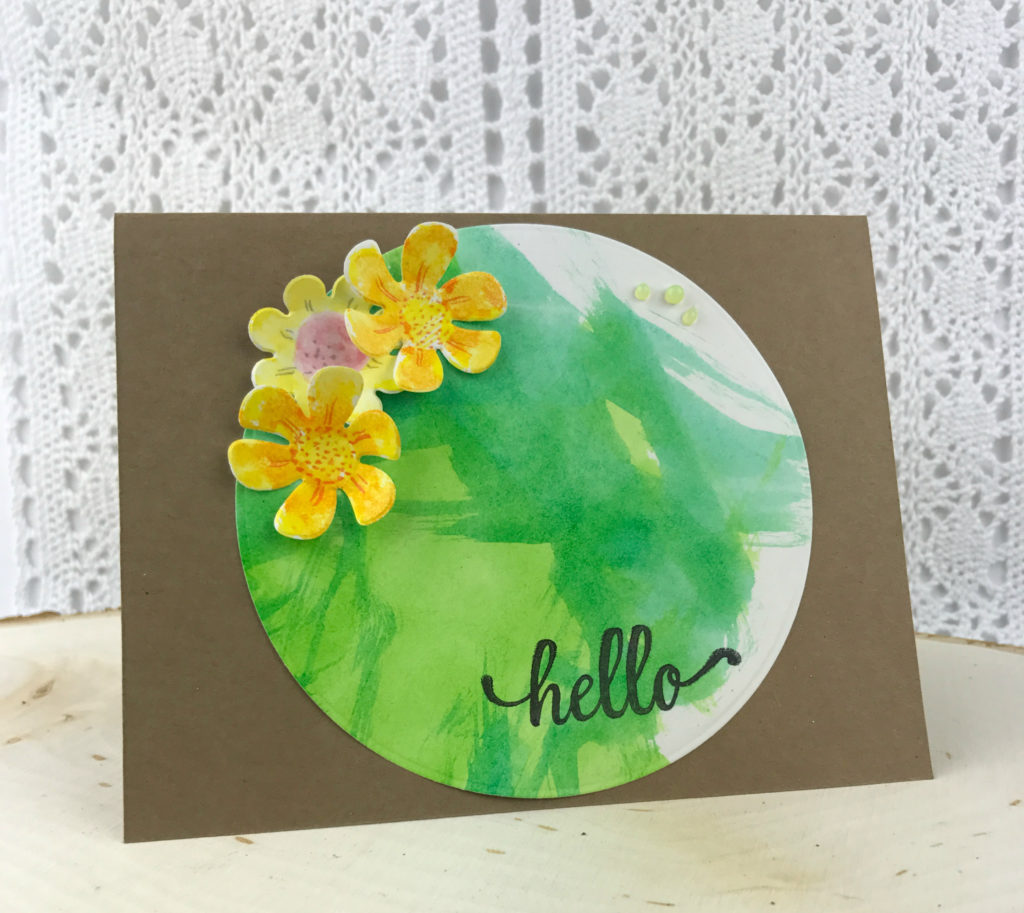
Here are some final images…
![18]()
![final for blog hop]()
Now, for more inspiration, be sure to visit our other blog hoppers:
Stencil Girl Talk
Kirsten Reed
and
Maria McGuire